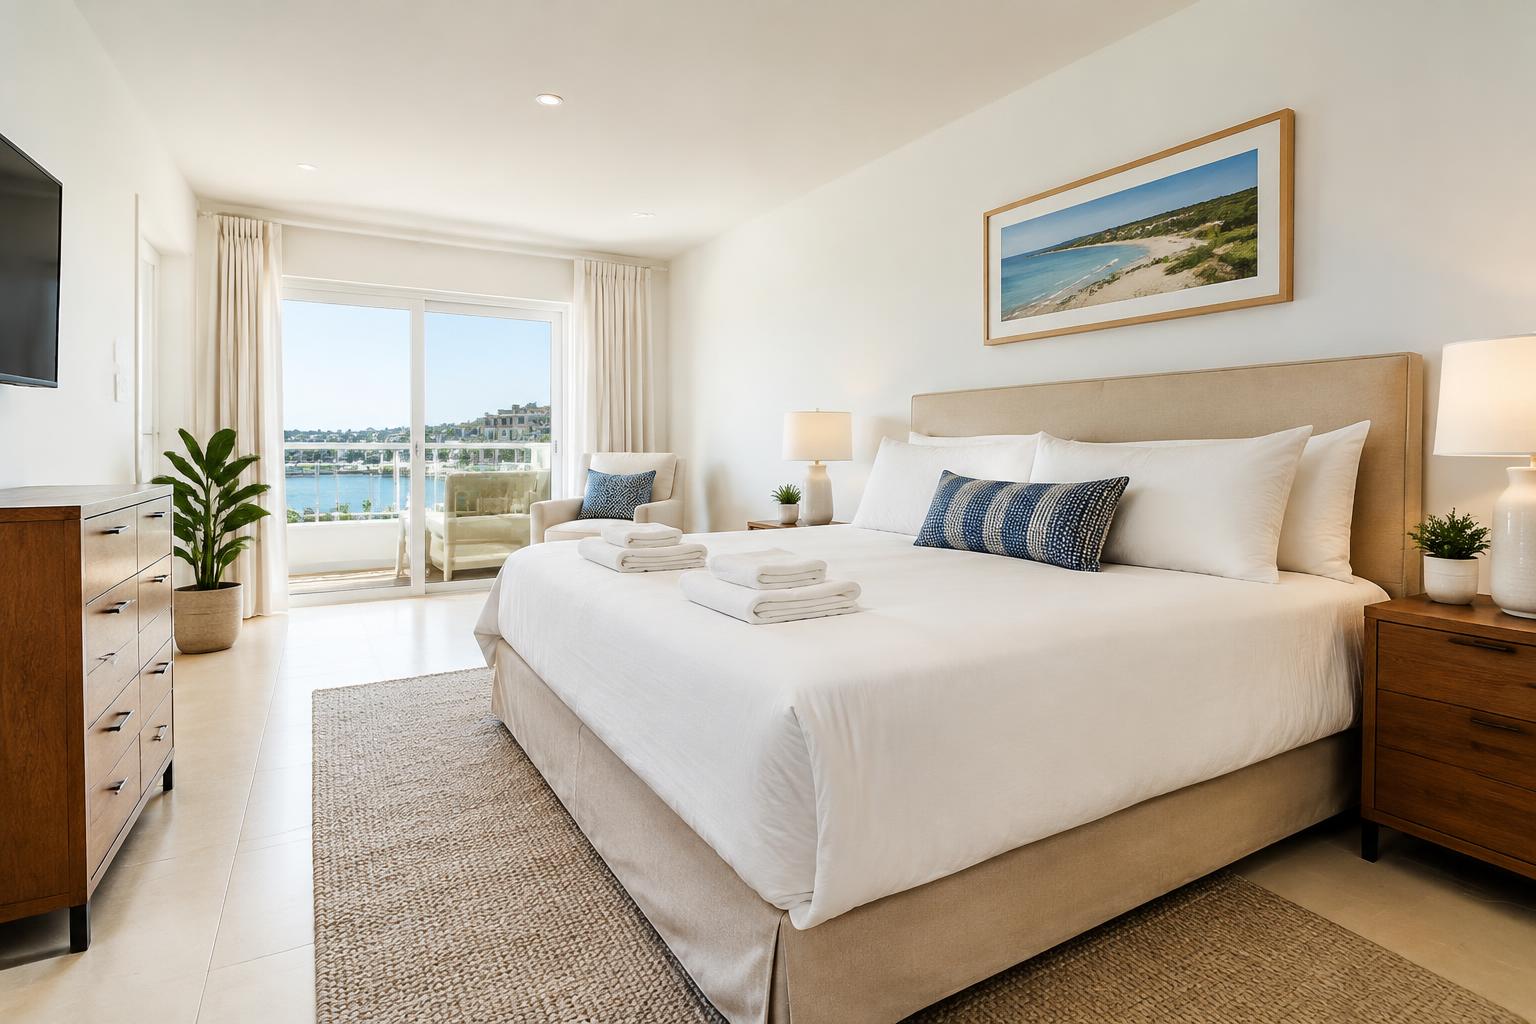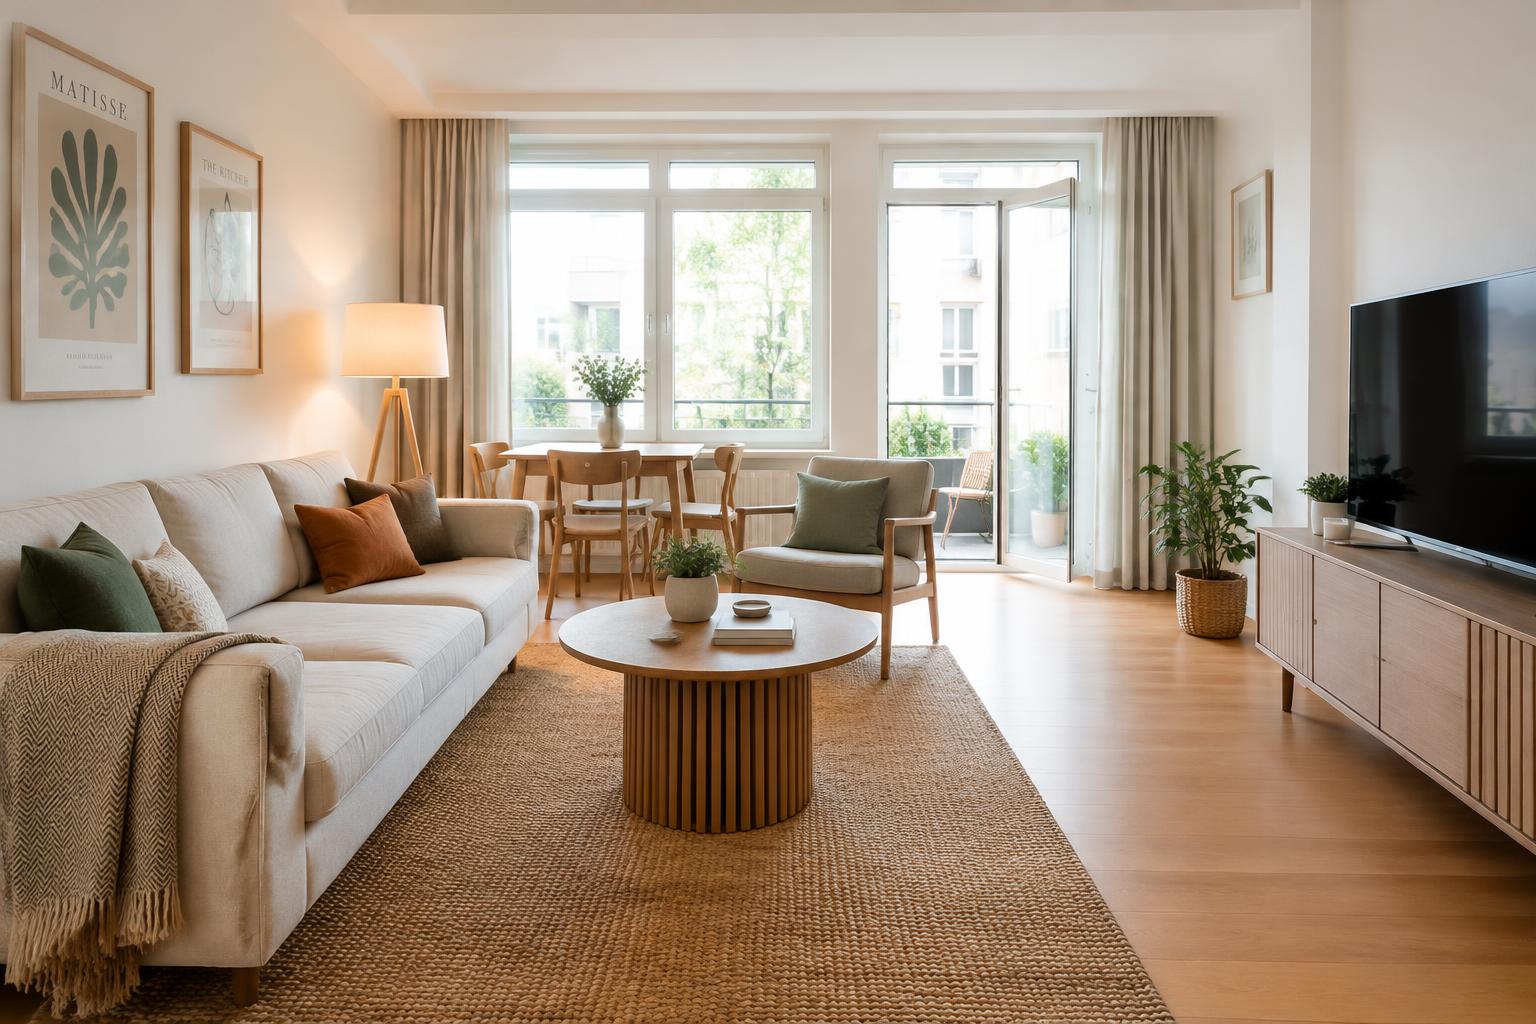
AI Photo Enhancer for Rental Listings: A Realistic Guide

Published November 18, 2026 · 6 min read
An AI photo enhancer can improve light, colour and clarity in rental listing photos, but it cannot reliably rescue every image. The best results make your actual home easier to see without changing what guests will find.
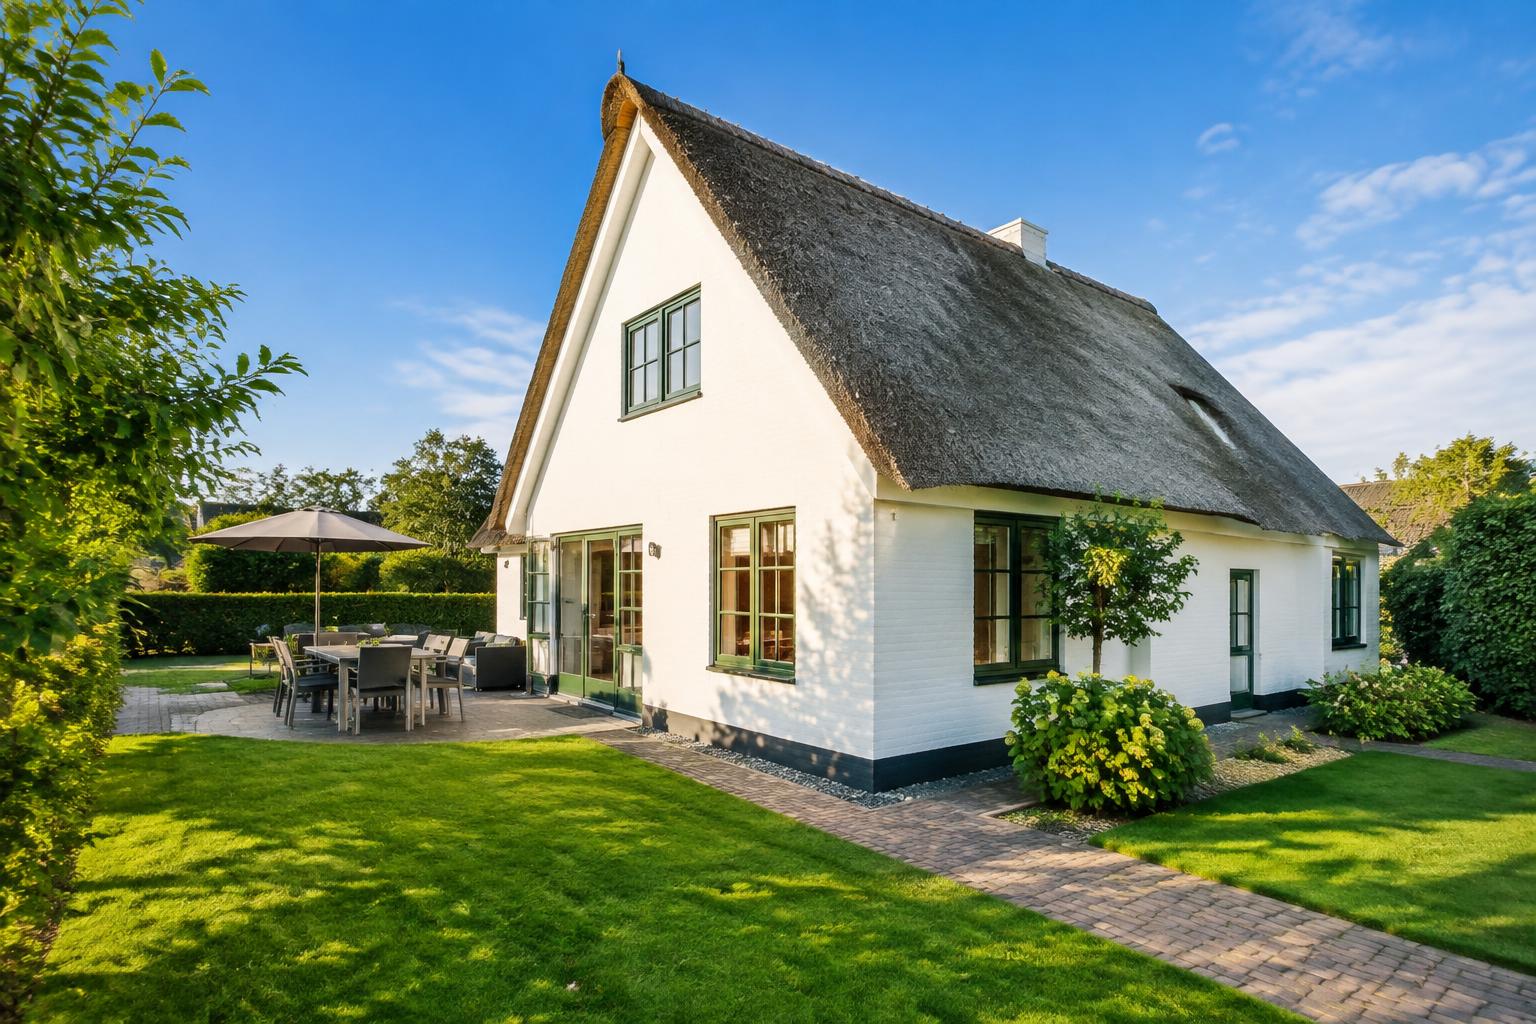
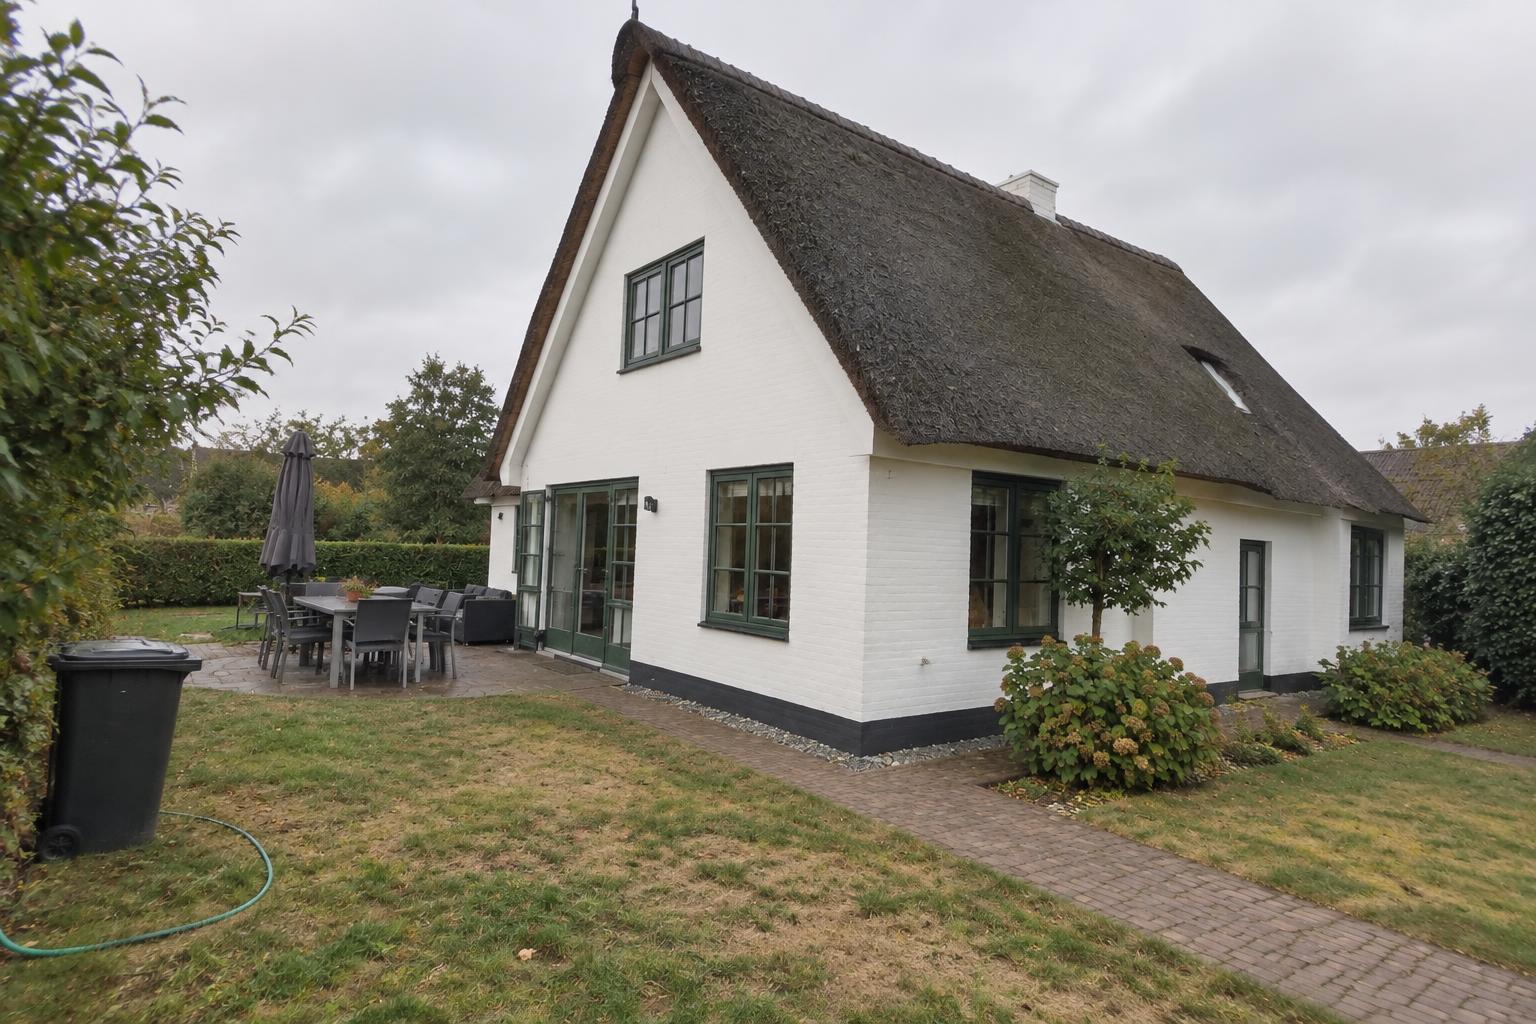 BeforeAfter
An AI photo enhancer for rental listings is useful when a photo makes your home look darker, duller or less clear than it really is. It should correct the image, not upgrade the property. The important part is checking that the finished photo still sets an accurate expectation for your guest.
With my own Airbnb, I have taken photos on a phone despite having paid professional photographers for other properties. I understand the appeal of improving the images you already have. But a brighter result is not automatically a better listing photo. Here is how I would judge the output before publishing it on Airbnb, Vrbo or Booking.com.
What realistic enhancement should achieve
Think of enhancement as removing distractions caused by the camera. A phone may give a white wall a yellow tint under indoor lighting, make a bright window appear blank, or leave the far side of a room looking murky. Those are image problems, not necessarily property problems.
Useful editing brings colours closer to what you see in person, makes detail easier to read and corrects leaning vertical lines. It can help a guest understand the room without having to mentally compensate for a poor photograph.
The word realistic matters here. A cosy sitting room should not become a dazzling white showroom. A naturally shaded bedroom should not appear flooded with direct sunshine. Timber should retain its actual tone, and textured walls should still look textured.
A simple test is to stand in the room with the edited photo open on your phone. Does it feel like the same place on a good day? If you need to explain away the differences, the edit probably goes too far.
Different tools can produce very different results
AI photo enhancement is a broad label. Some tools mainly adjust brightness, colour and sharpness. Others generate new image detail or replace parts of the scene. The results can look equally polished at first glance, but they carry different risks for a rental listing.
Before choosing a tool, look for a clear explanation of what it changes. Can you compare the original with the result? Can you request a less strong edit or reject a change? Does the service explain how it handles windows, objects and missing detail?
Pay particular attention to small features. Generated detail can make a radiator look unusual, alter a blind or turn a patterned cushion into something you do not own. These changes may be easy to miss when you are admiring the overall brightness.
Do not judge a service only by its most dramatic example. Test a typical photo from your own property, preferably one with mixed lighting, a window and some fine detail. That tells you more about its usefulness than a transformation of an already beautiful room.
Where enhancement reaches its limits
Editing works best when the original image contains usable information. If a window is completely white in the original, recovering the actual view may not be possible from that file. A plausible garden is not a substitute for your garden. Retaking the photo with a better exposure is the safer answer.
The same applies to blur. Sharpening can make existing edges clearer, but it cannot reliably reconstruct every detail lost through camera movement. Watch for lettering, fabric patterns and small fittings that appear newly invented rather than clearer.
Straightening also has limits. Correcting tilted walls often crops the image. Check that the result has not removed useful context, such as the edge of a doorway that helps explain the layout. An extremely wide view can remain misleading even after its vertical lines are straight.
Some problems belong to the room itself. Editing cannot make a cramped space more comfortable or repair a worn worktop. In our 15 years in real estate, I have learnt that presentation and condition are different things. If a defect will still be there when the guest arrives, removing it from the photograph creates the wrong expectation.
AI editing does not replace a photographer in every case. Where the available photos fail to explain the space, better original photography may be more useful than stronger editing.
A practical checklist for reviewing your results
Review the original and edited versions together. Start with the whole image, then zoom in. Finally, check it at the size a guest is likely to see on a phone.
- ✓Check the room shape. Walls, doors, windows and furniture should retain their real proportions.
- ✓Compare colours. Look closely at white bedding, painted walls, wooden floors and upholstered furniture.
- ✓Inspect window views. Buildings, gardens and neighbouring properties should match the actual outlook.
- ✓Follow straight edges. Check window frames, cupboard doors, tiles and stair rails for bends or broken lines.
- ✓Examine fine detail. Look for odd textures on rugs, cushions, taps, lamps and decorative objects.
- ✓Review removed items. Temporary clothes can be put away for a stay, but a permanent appliance cable may need to remain visible.
- ✓Check reflections. Mirrors and glass should still show a coherent version of the room.
- ✓Look at shadows and lighting. The image should not suggest sunlight from a window that does not exist.
- ✓Compare neighbouring photos. The same sofa or wall should not change colour from one image to the next.
- ✓Confirm the current setup. Furniture and amenities shown should still be present and available to guests.
If something looks wrong, name the issue precisely when requesting a correction. Saying that the oak floor has become too orange is more useful than saying the photo feels artificial.
Keep the original files and the approved versions separately. That makes it easier to revisit an edit or replace an image when the property changes.
Use the finished images without creating mixed messages
An accurate photo can still create confusion when it sits beside inconsistent images or wording. If one bedroom appears pale blue in an edited image and grey in another, a guest may wonder whether they are looking at different rooms.
Review the listing as a whole after uploading. Check the platform preview rather than assuming the uploaded file will look exactly as it does on your computer. Cropping and small display sizes can make an already bright image harder to read.
Keep descriptions grounded too. An improved view through a window does not justify calling a distant glimpse a panoramic outlook. Brightened interiors do not turn a shaded flat into a suntrap.
If you are unsure whether a particular type of edit needs disclosure or is permitted, check the current guidance for your platform. The practical standard remains straightforward: the guest should recognise the home they booked when they walk through the door.
How HouseBoost can help
We improve rental photos with AI, including brighter natural light, corrected colours and white balance, straight lines and sharper detail. We can also improve blue skies and visible views, and tidy clutter such as cables, clothes and personal items. We never invent things. The home stays the home, just at its best. Results are usually ready within minutes.
Basic costs €25 per property for up to 15 photos with a small HouseBoost watermark. Pro, the most chosen option, costs €50 for up to 50 photos, the same editing, a new listing text that sounds personal and an optional own watermark.
Premium costs €250 and includes everything in Pro, a walkthrough video of the home, your own wishes per photo and a manual check, with photos within 24 hours. Payment is one off per property, with no subscription. If you upgrade later, you pay only the difference. Whichever option you choose, review the finished images against the home before publishing.
Frequently asked questions
Can I use AI enhanced photos on my rental listing?
Check the current photo guidance for Airbnb, Vrbo or Booking.com before uploading, particularly if you have used tools that replace or generate image content. Keep every image a true representation of the home guests will find.
Can an AI photo enhancer fix blurry room photos?
It can improve the appearance of some slightly soft images, but it cannot reliably recover detail lost through significant blur. If important features become artificial or unclear, retake the photo rather than increasing the enhancement.
How can I tell whether an enhanced photo looks too artificial?
Look for unnatural brightness, changed colours, distorted edges and invented textures. Compare it with both the original image and the actual room, especially around windows, mirrors and patterned furnishings.
Should I enhance every photo in my rental listing?
Not necessarily. A clear, accurately coloured photo may need little or no correction. Aim for a consistent and truthful set rather than applying the strongest edit to every image.
About the author
Marcellino Zwirs
Co-founder of HouseBoost. 15 years in real estate, helping hosts present their homes better.
LinkedIn ↗