Airbnb Photos: Essential Shots, Order and Cover Photo

Published November 18, 2026 · 7 min read
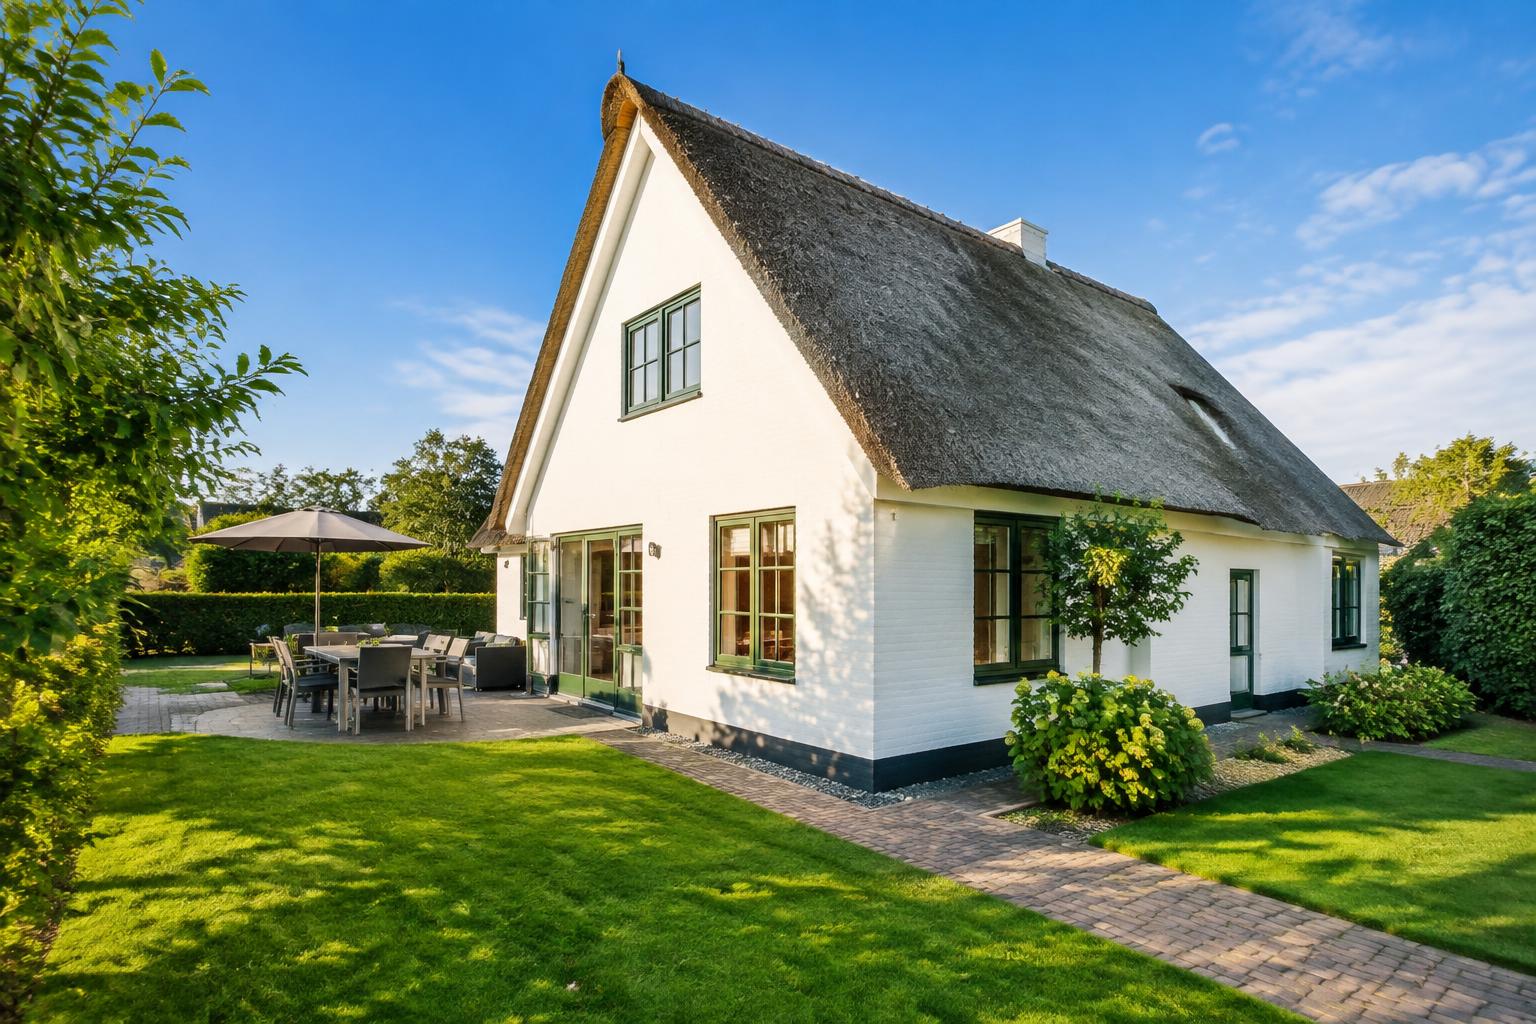
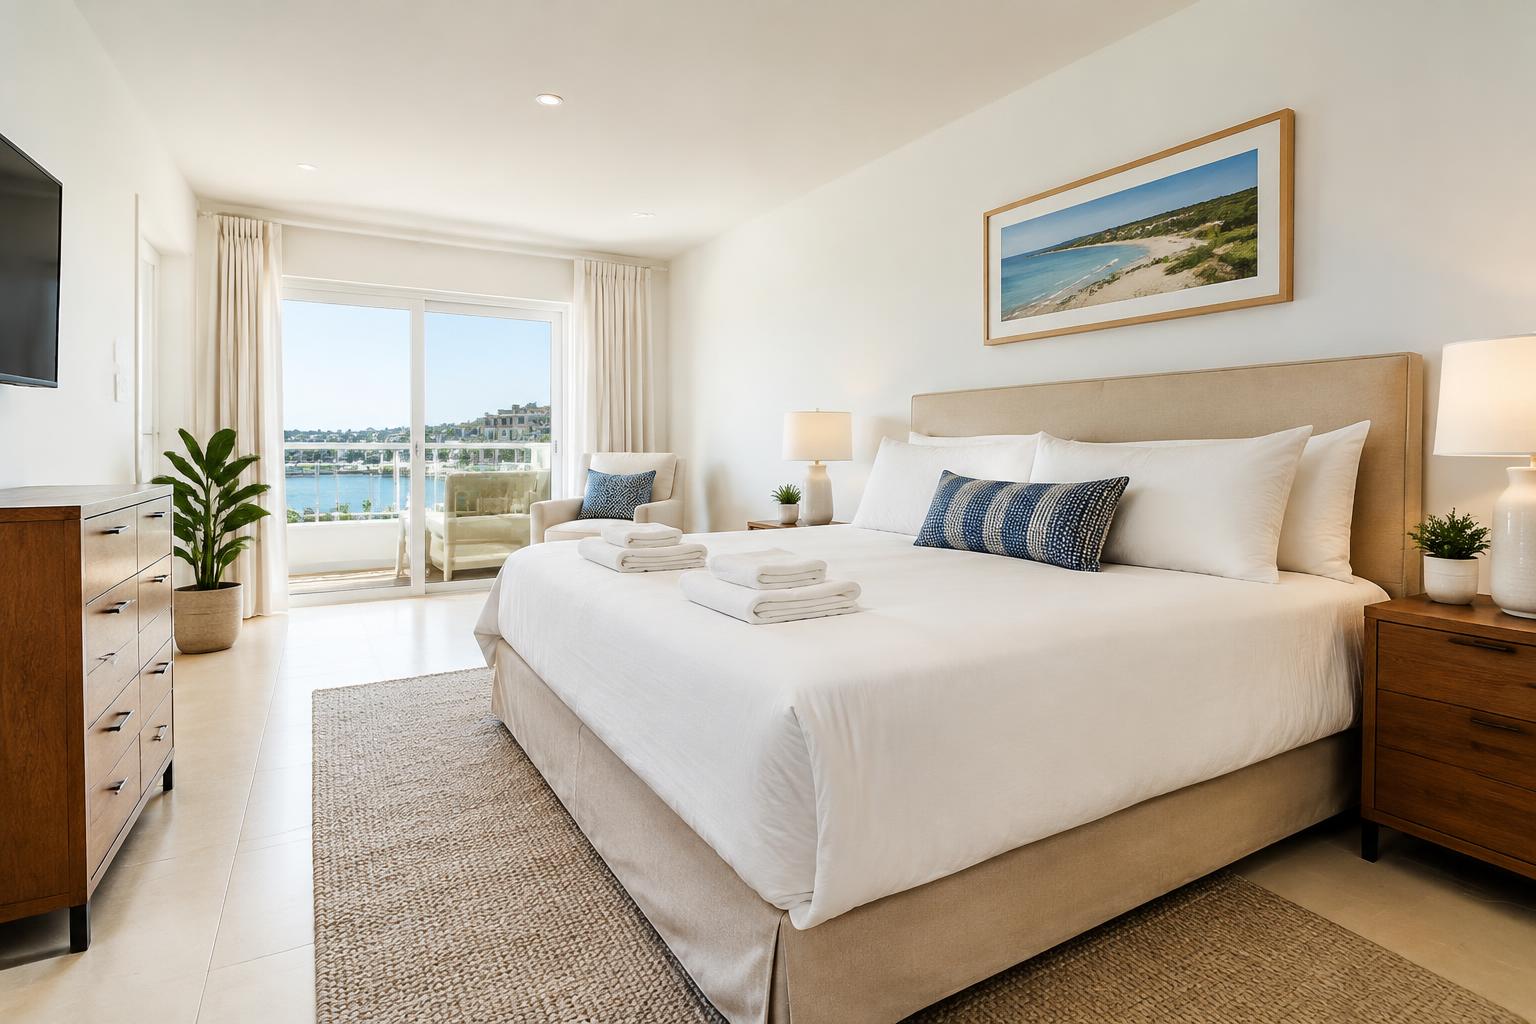
Your Airbnb photos should show every space guests can use, explain the sleeping arrangements and make the layout clear. Lead with your strongest honest image, then put the most useful views before decorative details.
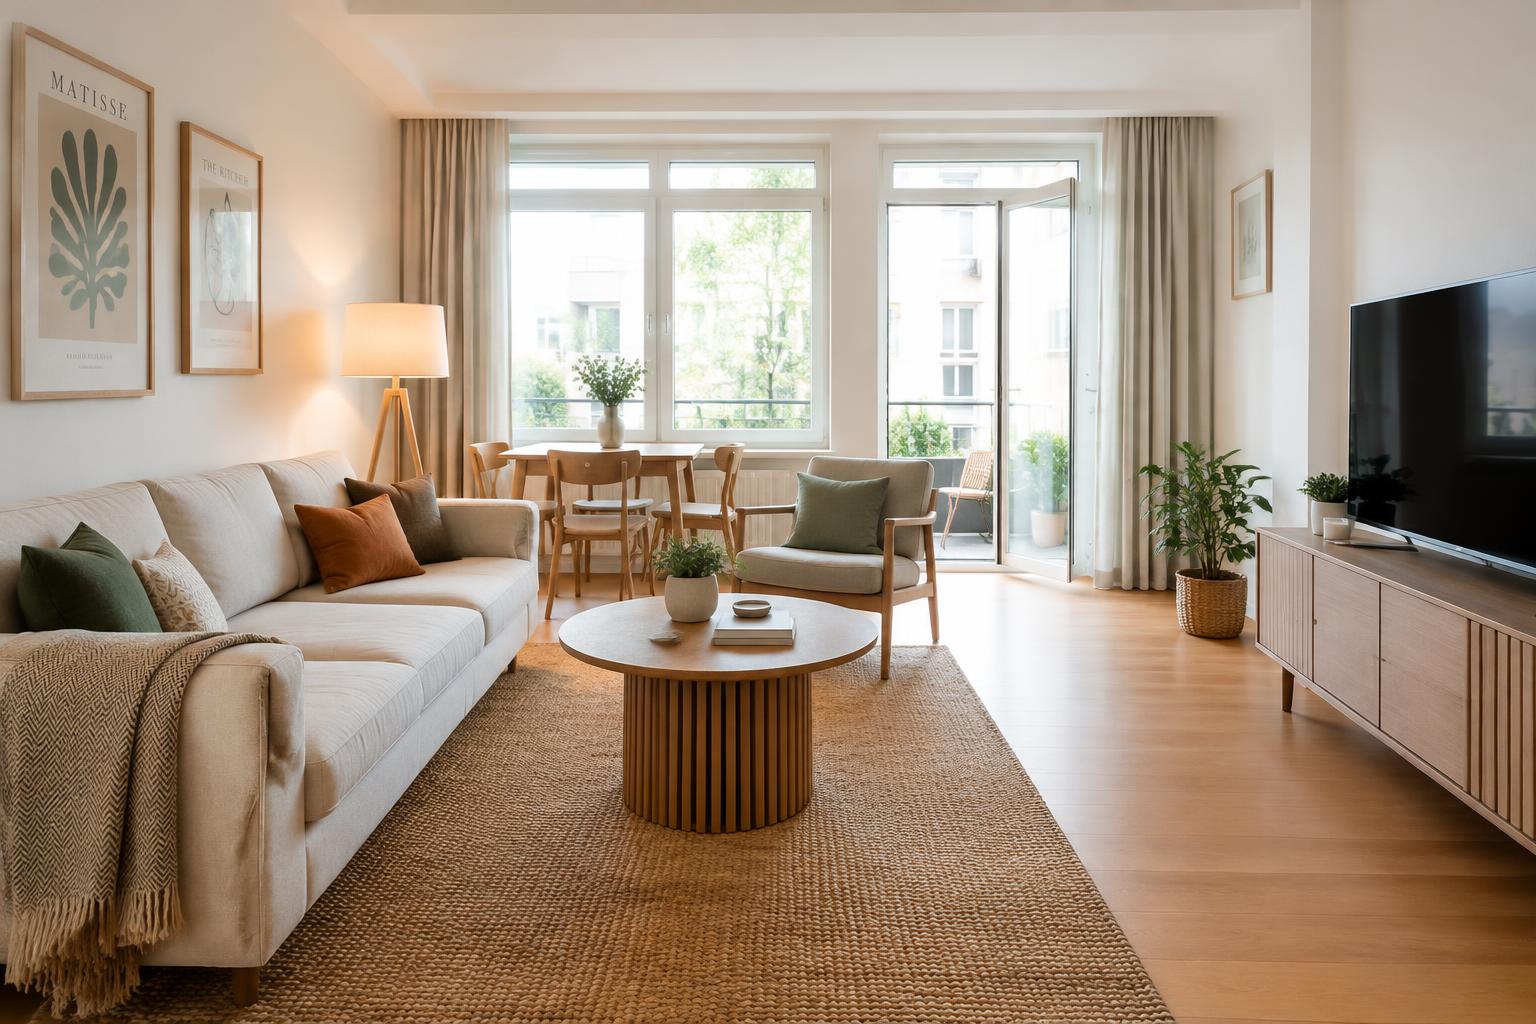
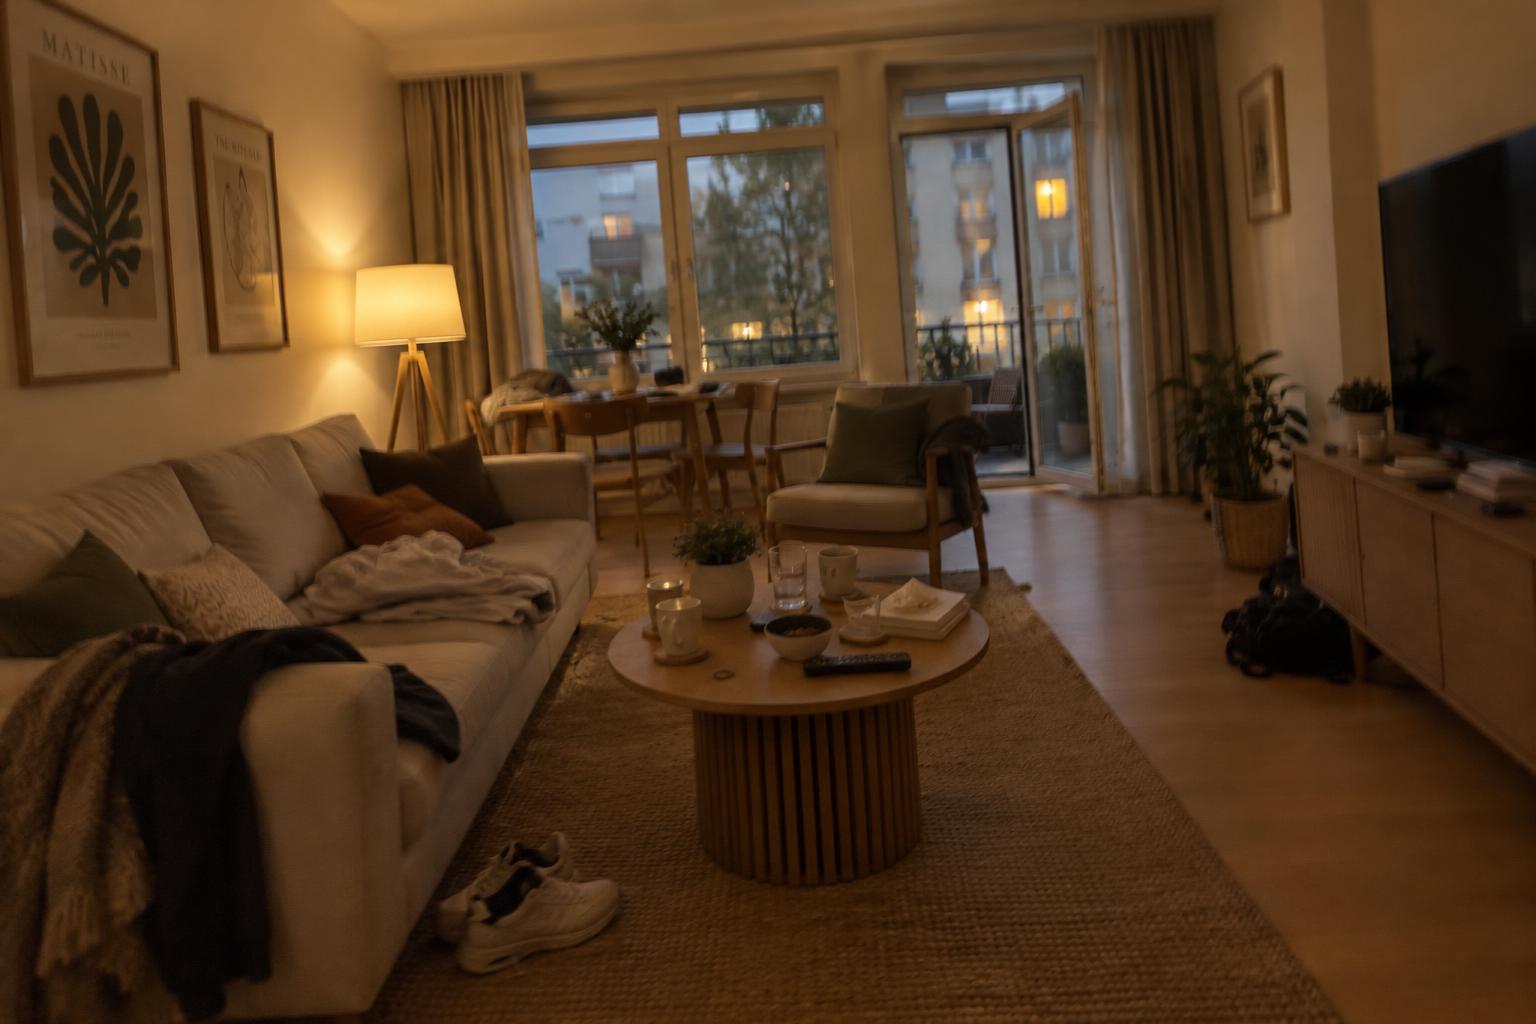 BeforeAfter
Good Airbnb photos answer three questions: what does the place feel like, will it suit my stay, and what exactly am I booking? Start with a strong cover photo, follow with the rooms that matter most, and leave decorative details until guests understand the home.
In our 15 years in real estate, I learnt to separate a lovely photograph from a useful one. A close shot of fresh flowers might look attractive, but it cannot tell someone whether their family will fit around the dining table. Your gallery needs to do both jobs, with useful information coming first.
The shots your listing actually needs
Think of your photos as a viewing for someone who cannot visit. They need to see every space included in their booking, not every corner you could photograph.
For the living area, choose a wide view that shows the seating and how the room connects to the rest of the home. If the sofa becomes a bed, include another image with it made up for sleeping. Guests should not have to imagine their bed from a folded sofa.
Show each bedroom separately. Make the bed arrangement obvious and include enough of the room to show the space around it. If two bedrooms look similar, use captions to distinguish them rather than letting guests wonder whether they are seeing the same room again.
The kitchen needs a view that explains what guests can use. Show the worktop, hob and main appliances where possible. A coffee machine close-up can come later, but it should not replace a clear picture of the cooking space.
Include each bathroom, with the shower or bath visible. A photograph of the basin alone leaves an important question unanswered. For a separate toilet, a straightforward image and caption are enough.
Then cover the spaces that influence whether your property suits a particular trip:
- ✓The dining area, with the available seating visible.
- ✓A workspace, showing the desk surface and chair rather than just a laptop.
- ✓A private garden, terrace or balcony, including its usable space.
- ✓Shared facilities, clearly described as shared.
- ✓The exterior and entrance, especially where access is not obvious.
- ✓Relevant steps, narrow passages or sloping ceilings that guests should understand before booking.
Do not hide practical limitations behind attractive angles. A clear photo of a steep staircase may help someone decide against booking, and that is better than an unhappy arrival.
Put the photos in an order that answers questions
Your opening images should explain the property, not spend several frames repeating its best feature. After the cover, give guests a different piece of useful information with each photo.
For a typical whole-home listing, I would start with this sequence:
- ✓Cover photo showing the strongest overall reason to stay.
- ✓Main living space, unless the cover already explains it fully.
- ✓Main bedroom, with the sleeping arrangement clear.
- ✓Kitchen and dining space.
- ✓Bathroom.
- ✓Any standout outdoor space or important additional bedroom.
This is a starting point, not a fixed formula. For a family house, showing the other bedrooms early may matter more than a terrace. For a studio, an overall view followed by the bed, kitchen and bathroom will usually explain the space better than several similar wide shots.
Once those essentials are covered, keep related images together. Show the remaining bedroom views as a group, then bathrooms, outdoor areas and practical details. Where your platform offers room-based organisation, use it to make those groups easy to understand and preview how the listing appears to guests.
Avoid jumping from a bedroom to the garden, back to another bedroom and then into the kitchen. That makes the home harder to piece together.
You can finish with smaller touches, such as a reading corner or useful storage. Nearby attractions belong after the property itself and need clear captions stating that they are off site.
Choose a cover photo that works at a glance
The cover photo has a different job from the rest of the gallery. It needs to make someone pause while giving an honest first impression of the stay.
Start by choosing a few candidates. These might be the living room, an inviting bedroom, a terrace with a genuine view, or an exterior that clearly shows the property. There is no single room that always makes the best cover.
Compare those candidates at a small size on your phone. Can you still understand what you are looking at? Is there one clear focal point? Does the image communicate something a guest would value, such as comfortable shared space or a private outdoor area?
A wide room shot can lose its impact when reduced to a thumbnail. Equally, a close-up of a cushion may be easy to read but say almost nothing about the accommodation. Look for the middle ground: a clear, inviting view with enough context.
Check the crop in your listing preview. Important features should not disappear at the edges. A terrace photo is much less useful if the preview cuts out the seating and leaves mostly sky.
Finally, ask whether the cover represents what guests are actually booking. A shared pool should not look like a private one. A nearby beach should not imply that the home is beachfront. If the strongest image needs a long explanation to avoid misunderstanding, choose another.
Use captions to connect the rooms
Photos show appearance well, but they do not always explain relationships. A short caption can clarify that the dining area is beside the kitchen, the second bedroom is upstairs, or the balcony is accessed through a bedroom.
Use captions for facts that are difficult to see. Identify rooms consistently, explain sofa bed arrangements and distinguish private spaces from shared ones. If a photo shows a view, say where it was taken from.
Skip captions that merely call a room beautiful or cosy. The image can communicate atmosphere. The words should add information.
Also remove photos that introduce confusion. Three nearly identical angles do not necessarily help guests understand a room. Keep the extra angle only if it reveals something useful, such as wardrobe space, an adjoining area or the route to the balcony.
A practical checklist before you publish
Review the gallery on your phone, as though you have never visited the property. For this pass, ignore how fond you are of individual photos and focus on what a guest can learn.
- ✓Can I identify the main living area, kitchen, bedrooms and bathrooms?
- ✓Are all advertised sleeping spaces shown, including any sofa bed in use?
- ✓Do the opening photos show different, useful parts of the home?
- ✓Does the cover remain clear when viewed as a small thumbnail?
- ✓Have I checked the cover crop in the listing preview?
- ✓Are private and shared spaces clearly distinguished?
- ✓Can guests understand important layout details from photos and captions?
- ✓Have I removed repetitive images and moved decorative details towards the end?
- ✓Do the furniture, facilities and condition match what guests will find today?
Ask someone unfamiliar with the home to review it too. Ask what they still cannot work out, rather than whether they like the pictures. Their unanswered questions can reveal a missing shot more reliably than compliments.
How HouseBoost can help with your selected photos
Once you have chosen your shots and their order, HouseBoost can improve natural light, colours, white balance, straight lines and detail, as well as tidy clutter such as cables and personal items. It can improve skies and make existing views clearer without inventing features. The home stays the home.
Basic costs €25 per property for up to 15 photos, with a small HouseBoost watermark. Pro costs €50 for up to 50 photos, plus a personal-sounding listing text and an optional own watermark. Premium costs €250 and includes everything in Pro, a walkthrough video, your wishes per photo and a manual check, with photos within 24 hours.
Payment is one off per property, with no subscription. Basic and Pro results are usually ready within minutes. Editing cannot supply a missing room view or replace a photographer in every situation. Choose informative shots first, and keep every finished image true to what guests will find.
Frequently asked questions
What should my Airbnb cover photo show?
Choose the clearest, strongest honest view of your property, whether that is the living room, bedroom, exterior or private outdoor space. Check that it remains understandable at thumbnail size and that the listing crop keeps the important features visible.
What order should Airbnb photos go in?
Start with your cover, then show the main living space, sleeping arrangements, kitchen and bathroom, adjusting the order to your property's strongest features. After the opening images, group related room views together so guests can follow the layout.
How many Airbnb photos do I need?
Use enough to show every guest space, all sleeping arrangements and the practical details that affect a booking decision. A larger home will need more images than a studio, but repeated angles should only stay if they add useful information.
Should I include photos of nearby attractions?
They can provide context, but put them after the photos of the accommodation. Clearly identify them as off site and avoid using an image that could make guests mistake a nearby attraction for part of your property.
About the author
Marcellino Zwirs
Co-founder of HouseBoost. 15 years in real estate, helping hosts present their homes better.
LinkedIn ↗