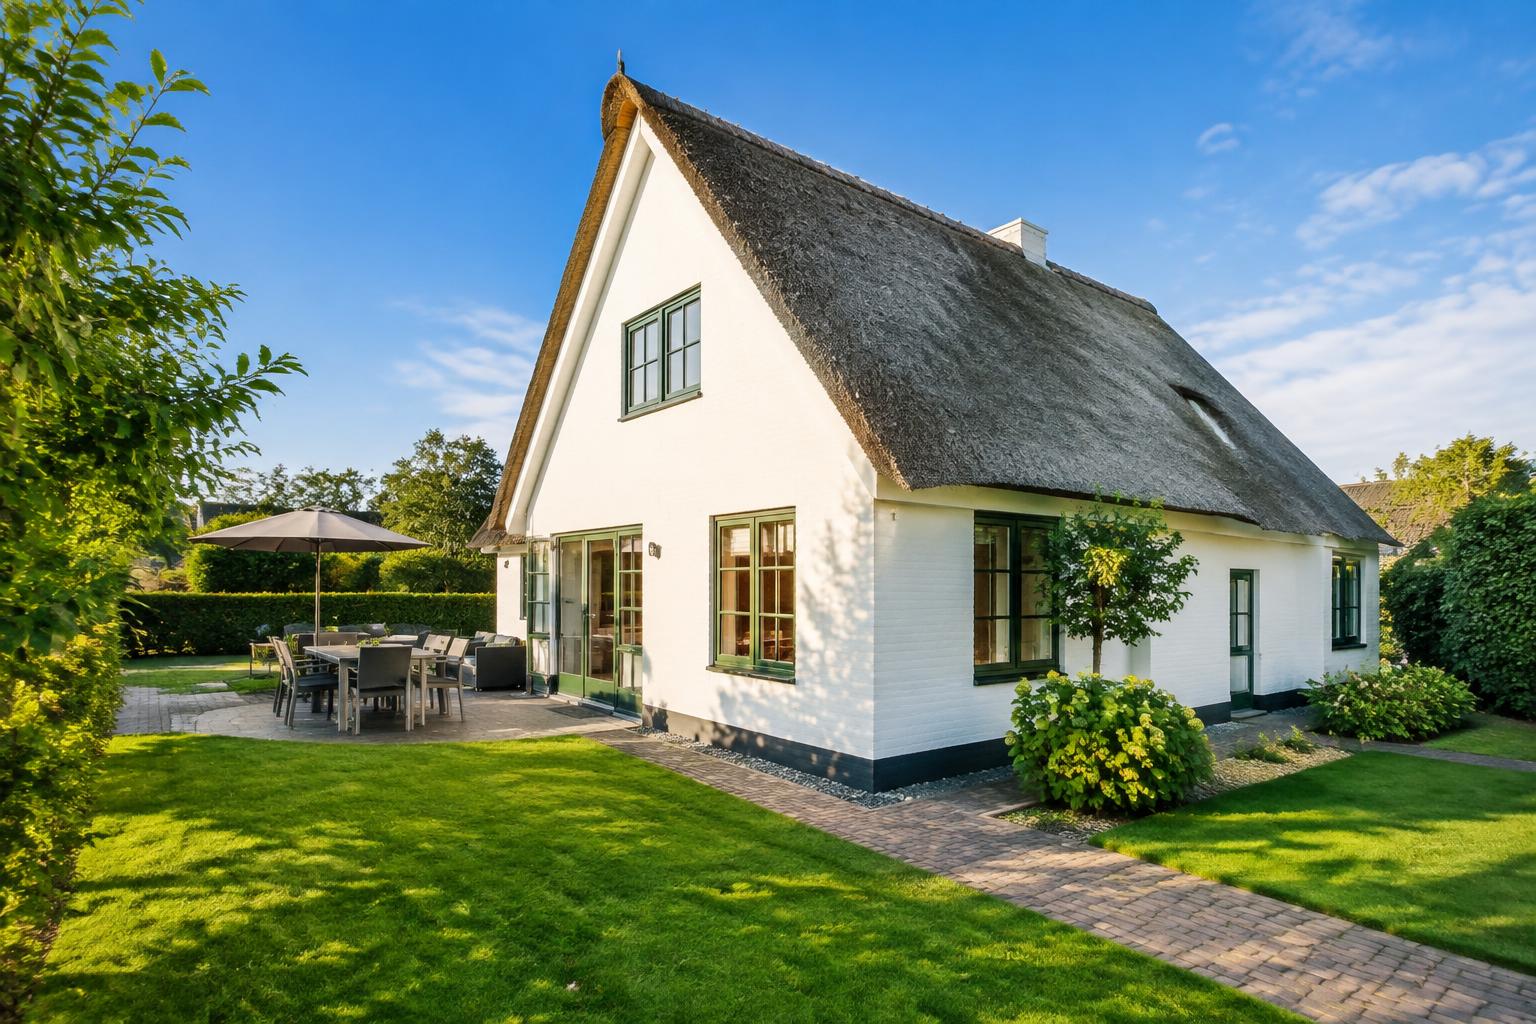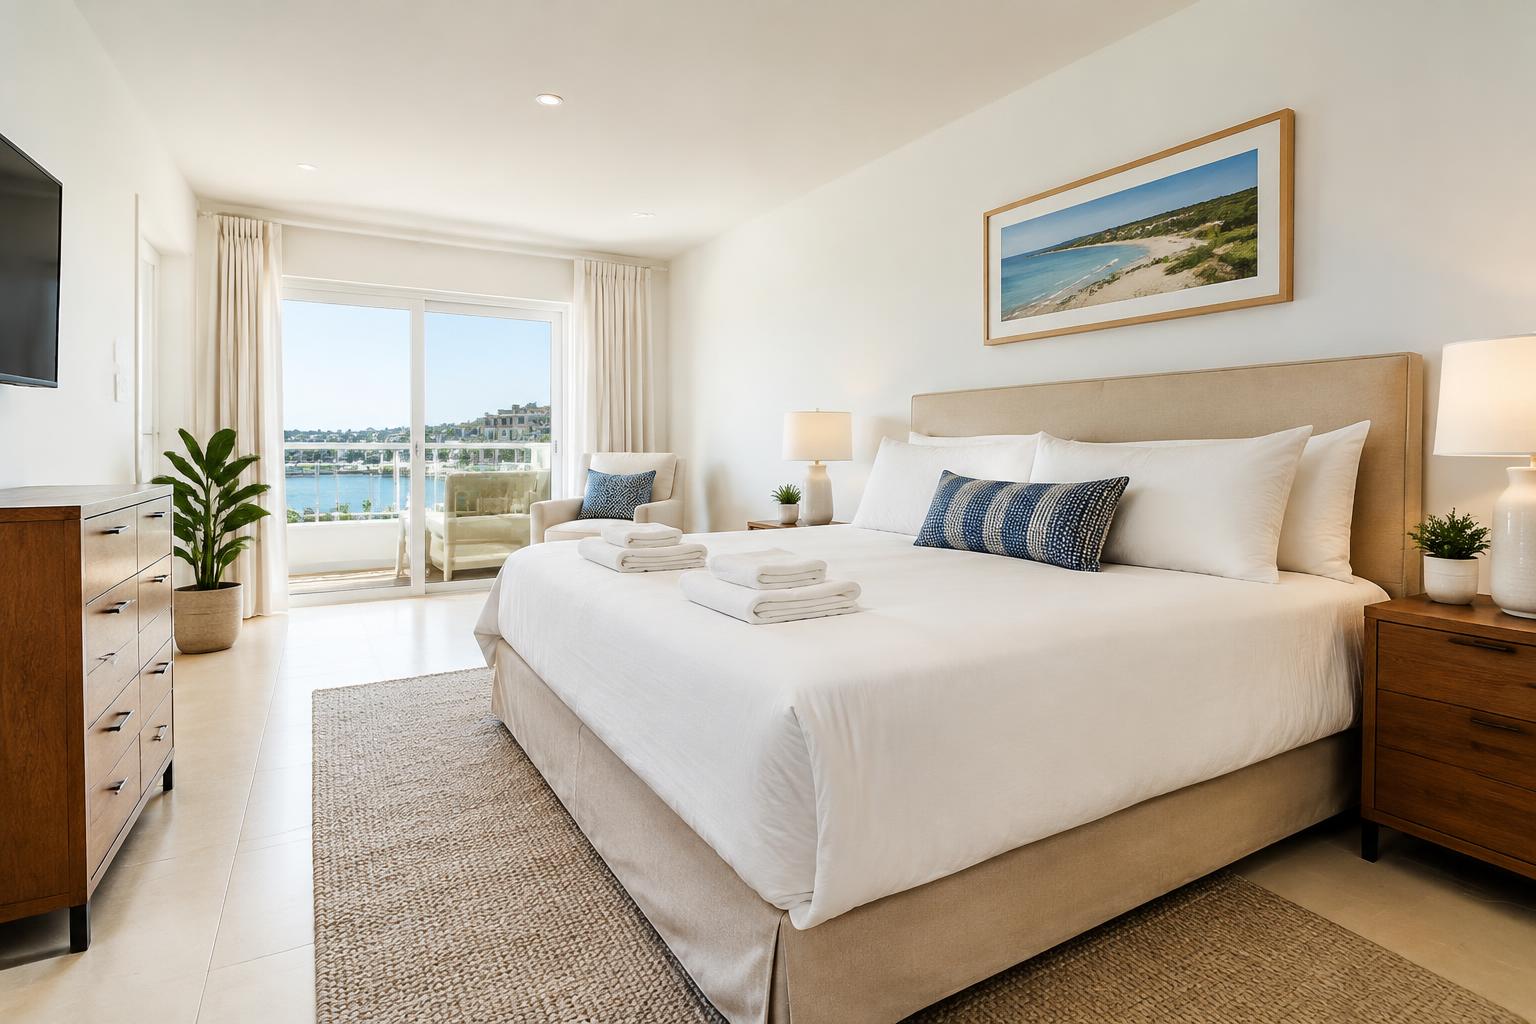
Vacation Rental Photography Without a Full Reshoot

By Boyd Minnebo
Published November 18, 2026 · 7 min read
Good vacation rental photography helps guests understand the space, see its condition and decide whether it suits their stay. You can often improve a listing by choosing stronger existing images, taking a few missing shots and editing carefully rather than arranging a full shoot.
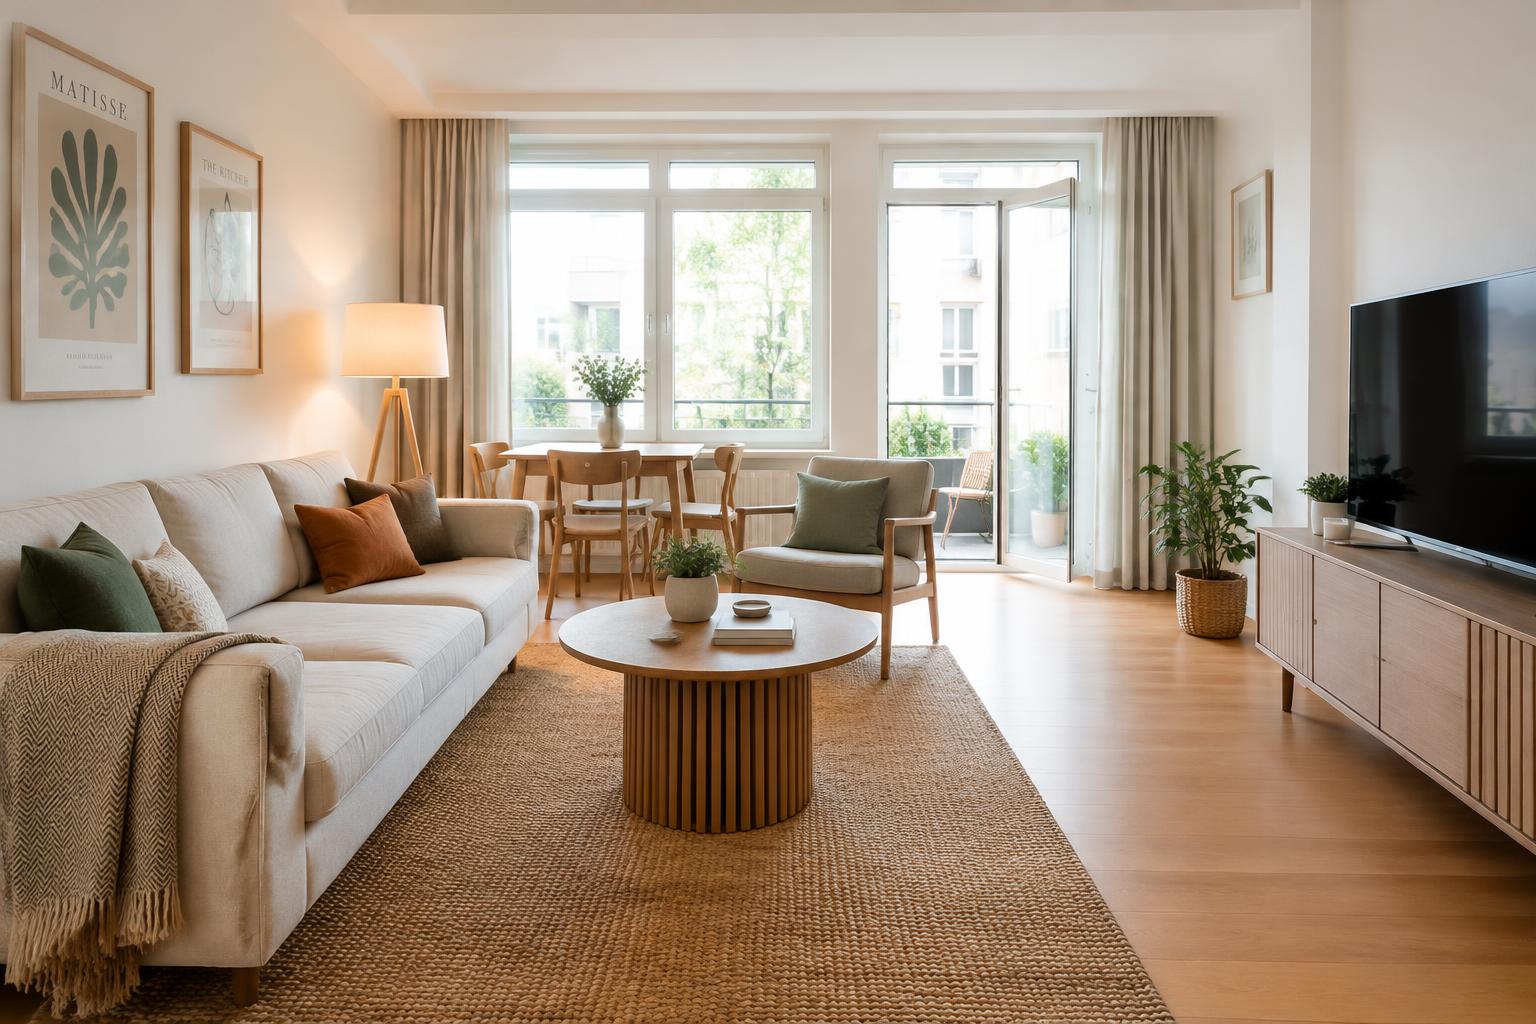
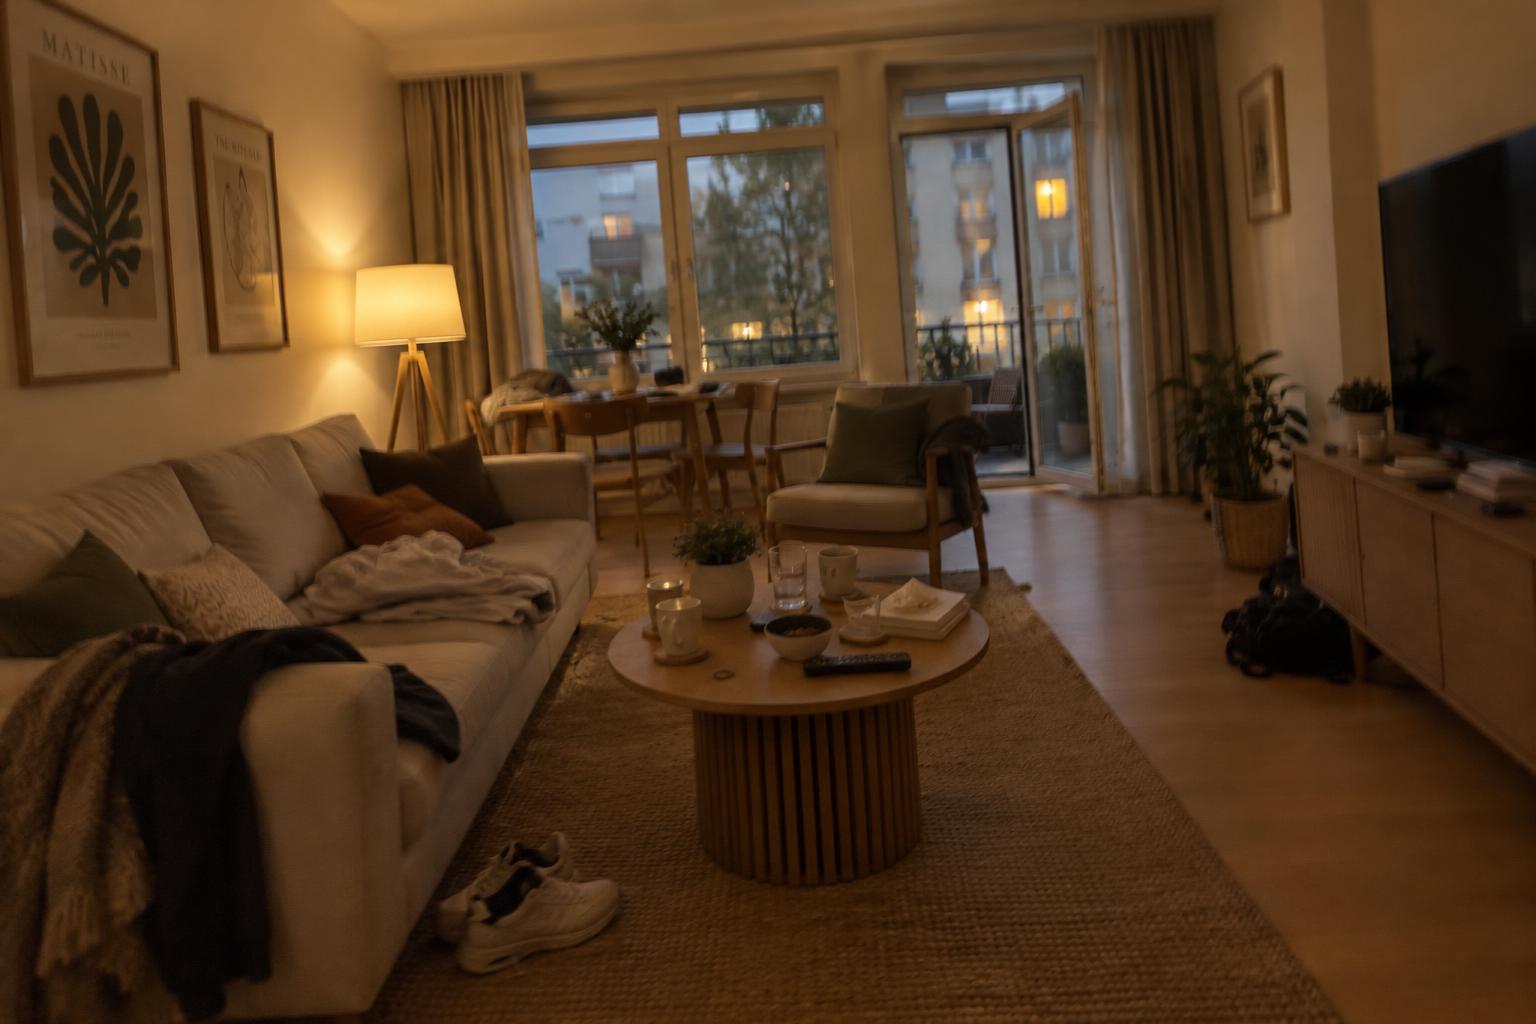 BeforeAfter
Good vacation rental photography makes the home easy to understand and appealing without making it look like somewhere else. You do not always need a full shoot to get there. Often, the better starting point is to review what you have, replace the photos that leave questions unanswered and correct distracting lighting or colour problems.
In our 15 years in real estate, I have seen owners save money on photography, and we have paid professional photographers ourselves. I have also taken photos of my own Airbnb with a phone. The useful question is not simply whether a photo looks professional. It is whether it helps a guest make a confident decision.
What makes a listing photo work?
A useful listing photo has a clear job. It might show the main living space, explain the sleeping arrangement or help someone picture breakfast on the terrace. If you cannot say what an image tells the guest, it may not deserve a place in the listing.
Start with readability. Can you tell what room you are looking at immediately? Is the furniture easy to distinguish? Are bright windows pulling your attention away from everything else? A photo can be technically sharp and still be difficult to read.
Next comes proportion. Guests need to understand how the bed fits into the bedroom and how much space surrounds the dining table. An extreme wide angle can squeeze everything into the frame while stretching the edges and making distances look misleading. A slightly narrower view is often more useful.
Finally, consider reassurance. Clean surfaces, neatly made beds and consistent colour help guests judge the condition of the home. But do not confuse tidy with empty. A reading lamp, somewhere to put a suitcase and a usable bedside table communicate comfort more clearly than elaborate decoration.
Your opening image should combine appeal with information. A close-up of flowers might look pleasant, but it tells someone very little about where they will stay.
Audit the photos before replacing them
Look through your listing on a phone, as a guest might. Ignore how much effort each picture took. Ask what you can actually learn from the sequence.
Give your existing images one of three labels: keep, edit or retake.
Keep photos that show the space clearly, reflect its current condition and add something useful. They do not all need to be striking. A straightforward bathroom photo can answer an important question even if it is not your strongest marketing image.
Edit photos where the composition works but the presentation gets in the way. Common examples include a room that looks too yellow, a slightly tilted frame or shadows that hide furniture detail.
Retake photos that are blurred, badly framed or out of date. Editing cannot reliably recover detail that was never captured, and it should not turn an old room into a guess at your current one.
Then look for missing information. Can guests see each sleeping space? Is the shower or bath visible? If you promote outdoor dining, is there a clear picture of the actual seating area?
Remove near duplicates. Several similar sofa angles can make a listing feel repetitive while leaving the kitchen unexplained. Build a sequence that introduces the home, covers the essential rooms and then shows the features that distinguish it.
Take targeted replacement shots with your phone
Once you know what is missing, you can take a small set of purposeful photos rather than repeating the whole shoot.
Prepare the room before opening the camera. Clean the lens, straighten bedding, tuck away loose cables and remove clothes, cleaning products and personal paperwork. Leave the furniture and amenities as guests will find them.
Watch how daylight falls in each room. A cloudy day can provide soft, even light. Strong sun may work well outdoors but create harsh patches inside. There is no single best time for the whole property, so check individual rooms rather than forcing everything into the same session.
Mixed lighting deserves attention. Warm lamps and cool daylight can give different parts of a room different colours. Try a frame with the lights off and compare it with one where they are on. Choose the version that shows the room most naturally.
Hold the phone level and avoid tilting it sharply up or down. Use the normal lens where possible, stepping back only as far as the room allows. If you need a wider view, check that beds and chairs near the edges have not become stretched.
For a difficult room, take a wider shot to explain the layout and a second view to show what the first misses. That is more honest than trying to force every feature into a distorted frame.
Know what editing can and cannot fix
Good editing removes distractions between the guest and the real home. Correcting white balance can make white bedding look white again. Adjusting exposure can reveal a dark corner. Straightening vertical lines can stop a room looking as though it is leaning.
The boundary is whether the result still represents what a guest will find. A window view should be the actual view, not a more attractive landscape. A brighter room should not suggest sunlight that the space does not receive. Removing a loose charging cable is different from removing a permanent obstruction.
Apply the same judgement to outdoor photos. A blue sky should not become an excuse to disguise the surroundings or make every surface look unnaturally vivid.
Compare the edited image with the original and, ideally, the room itself. Check wall colours, furniture shapes, reflections and window details. If something looks unfamiliar, question it.
AI editing does not replace a photographer in every case. Awkward layouts, consistently poor source images or a major refurbishment may justify a proper shoot. A professional photographer often costs €200 or more. When the problem is camera position or missing coverage rather than presentation, fresh photography can be the better investment.
A practical checklist before uploading
Review the finished selection as a set, not just as individual pictures. For Airbnb, Vrbo or Booking.com, check the actual listing preview rather than assuming the upload looks right everywhere.
- ✓Choose an opening photo that remains understandable at a small size.
- ✓Make sure every important room has a clear, current image.
- ✓Keep useful layout shots alongside closer views of distinctive features.
- ✓Remove repeated angles that do not add information.
- ✓Check that colours and brightness feel consistent between rooms.
- ✓Inspect mirrors and windows for distracting reflections or editing mistakes.
- ✓Confirm that visible furniture and amenities will be available to guests.
- ✓Check cropping so that important features are not cut off.
- ✓Add factual captions where an image needs context, such as identifying a shared terrace.
- ✓Compare the photos with your listing text and resolve any contradictions.
The final test is simple: would arriving guests recognise the home immediately, including its size, outlook and condition?
How HouseBoost can help
If your existing photos have useful angles but need better presentation, HouseBoost improves natural light, colours, white balance, straight lines and detail with AI. It can also improve sky presentation, make existing views visible and tidy distractions such as cables, clothes and personal items. It never invents things. The home stays the home, just at its best.
Basic costs €25 per property for up to 15 photos, with a small HouseBoost watermark. Pro costs €50 per property for up to 50 photos, the same editing, a new listing text that sounds personal and an optional own watermark.
Premium costs €250 per property and includes everything in Pro, a walkthrough video, your own wishes per photo and a manual check, with photos within 24 hours. Results are otherwise usually ready within minutes.
Payment is one off per property, with no subscription. If you upgrade later, you pay only the difference. Start by identifying the photos worth keeping, then decide whether editing or a targeted retake solves the problem.
Frequently asked questions
Can I use my phone for vacation rental photography?
Yes, a phone can produce useful listing photos when the room is prepared, the light is suitable and the camera is held level. Avoid extreme wide angles and check the full-size images for blur before uploading.
How do I know whether to edit a photo or retake it?
Edit when the angle and detail are good but brightness, colour or straight lines need correcting. Retake when the image is blurred, hides important parts of the room or no longer shows the property as guests will find it.
What should the first photo of my holiday rental show?
Choose a clear, appealing image that communicates something substantial about the stay, such as the main living space or a distinctive outdoor area. Check that it still makes sense as a small thumbnail, rather than relying on details guests may not notice.
Is AI editing suitable for holiday rental listing photos?
It can be useful for correcting lighting, colour and distracting clutter, provided the result remains a true representation of the home. Check the current guidance for your listing platform, and reject edits that invent features, change the layout or misrepresent the view.
About the author
Boyd Minnebo
Co-founder of HouseBoost. 15 years in real estate and runs his own Airbnb.
LinkedIn ↗